Before:
After:

What I wanted to communicate with my photo
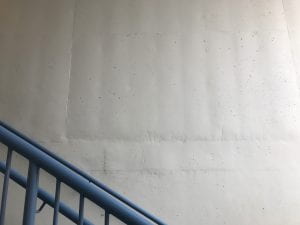
With this project, there wasn’t really a single “before image”, but rather multiple ones. First, I took pictures of the covid posters around the school as they represented some of the safety measures we all took to prevent the spread of covid-19. Then I took a picture of the wall as I was looking for a blank space to “hang” the posters on. For the frame of the “posters”, I used a picture of a bulletin board I found around the school. Together, I combined all the images with clipping masks to form a “memorial wall”, to highlight the events that everyone went through during the period of covid-19.
What photoshop tools did I use to modify the “after” photo?
I used the clipping mask to photoshop covid-19 posters into “frames”, which I then “hung” on the wall. Then, I added words underneath each poster to further emphasize what each poster was representing (responsibility, teamwork, social distancing, shutdown of facilities, etc.). For some of the posters, I rotated them to make them all face the same way. I also used the “shadow and highlights” function to ensure the lighting was balanced throughout the entire image.
What do I want to learn next in Photoshop?
Next, I would like to learn more about the tools and features that photoshop offers. I am excited to see how these tools will expand my “box of tools” and how they will impact future projects.